How to Verify a Skrill eWallet – Full Step Guide
How to Open a Skrill Account – Full Steps Guide
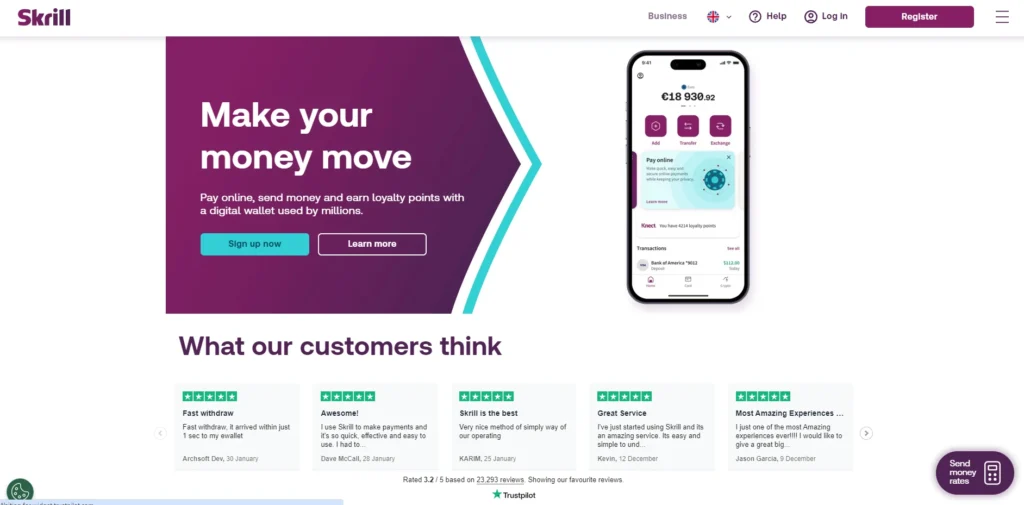
Step 1 : Go to www.skrill.com website and click on “Register” Button
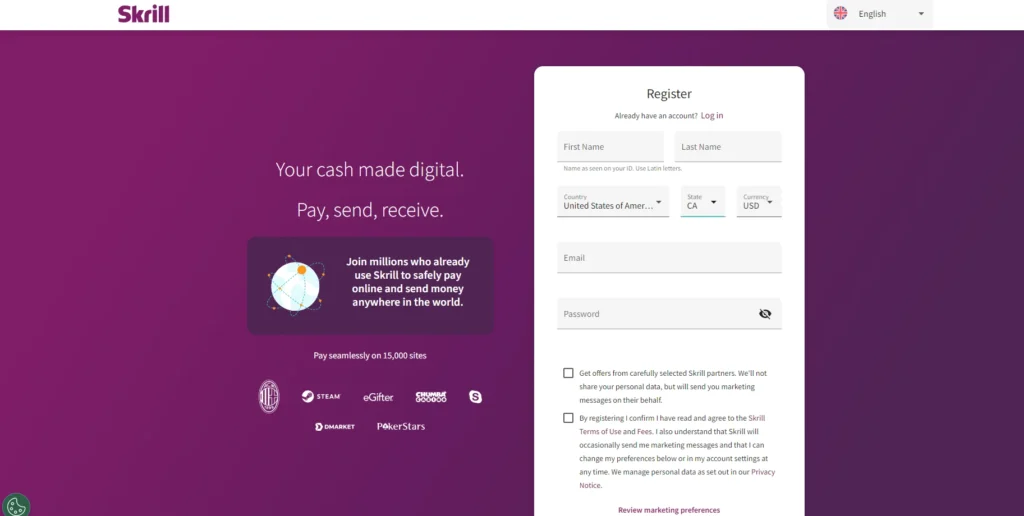
Step 2 : Complete the Registration form and click on the “Register” Button
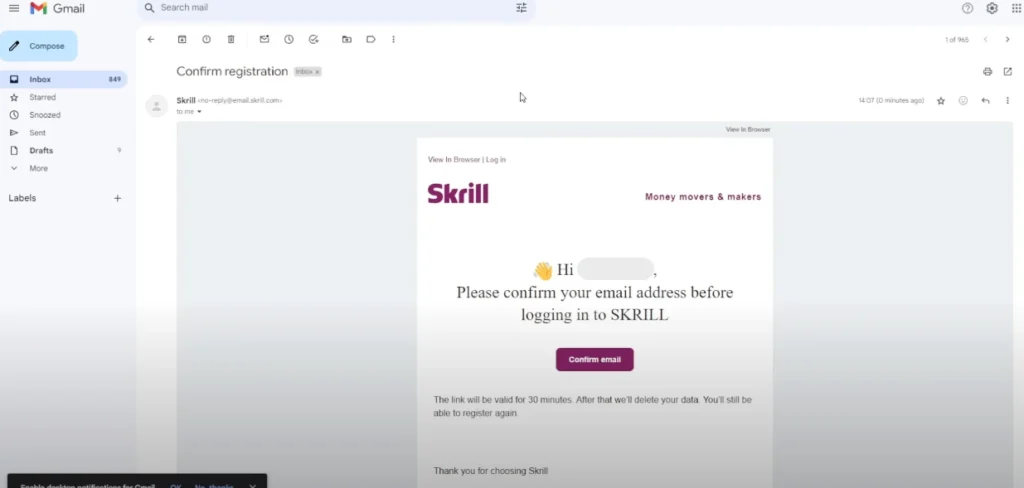
Step 3 : Then, Skrill will send a verification link to your email address for you to verify your email.

Step 4 : Go to your email and click on the “Confirm Email” button.
Step 5 : You will be redirected to the Skrill account login page. Enter your login credentials and click on the “Login” button.

Step 6 : Now, you will be presented with another form to add your details. You can choose to add these details later or do it at this time. Then, click on the “Next” button.
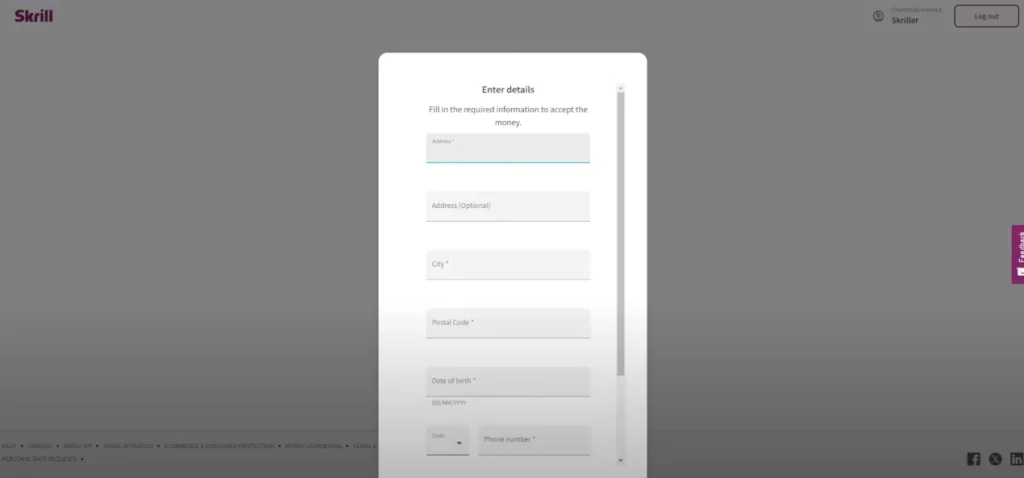
If you don’t know the postal code, you can simply type your city into Google, and it will provide you with the relevant postal code.
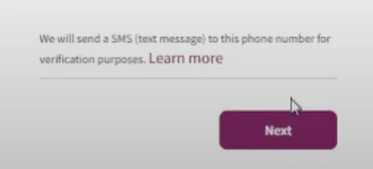
Step 7 : Skrill will ask you to verify your mobile number. Click on the “Next” button to proceed and complete the phone verification process following the given instructions.
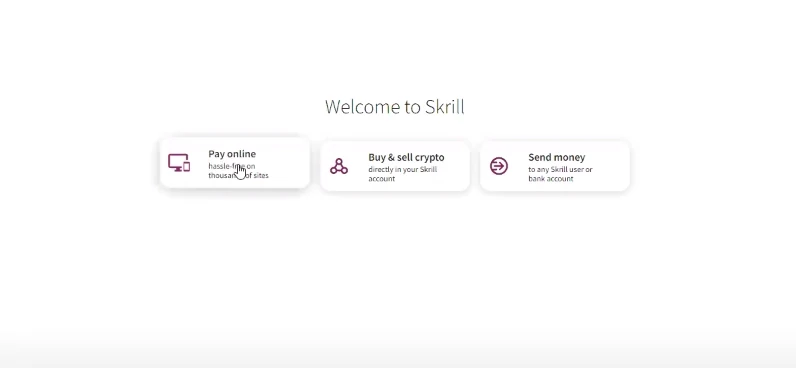
Step 8 : Go to the Skrill account and click on the “Pay Online” Button.
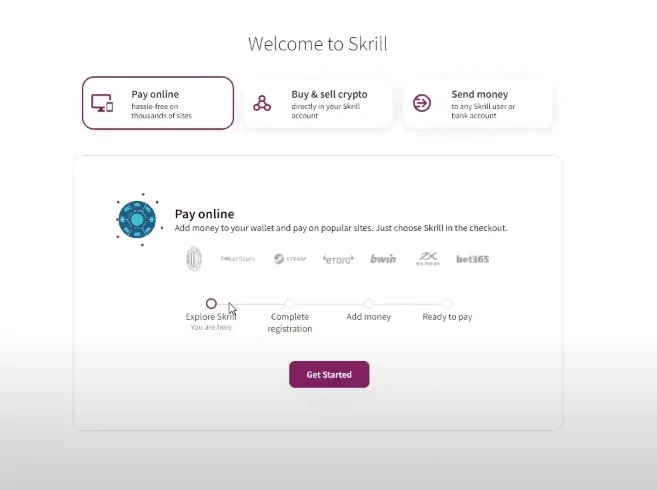
Step 9 : You will receive a few steps to complete before starting the verification process. Click on the “Get Started” button to proceed.
Step 10 : Now, you will see the form mentioned in “Step 6”. If you have not filled out those details yet, fill them in here and proceed to the next step.
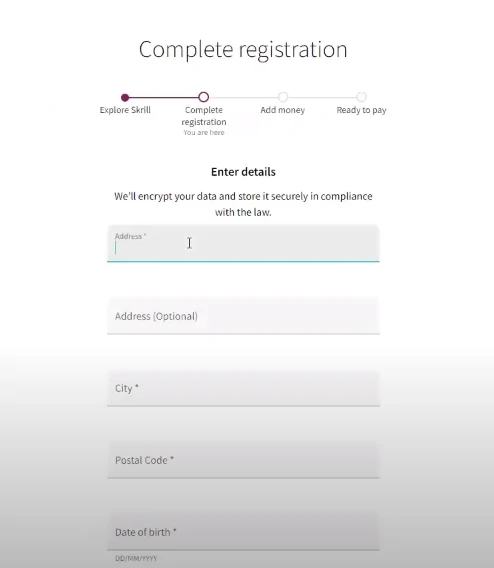
If you don’t know the postal code, you can simply type your city into Google, and it will provide you with the relevant postal code.
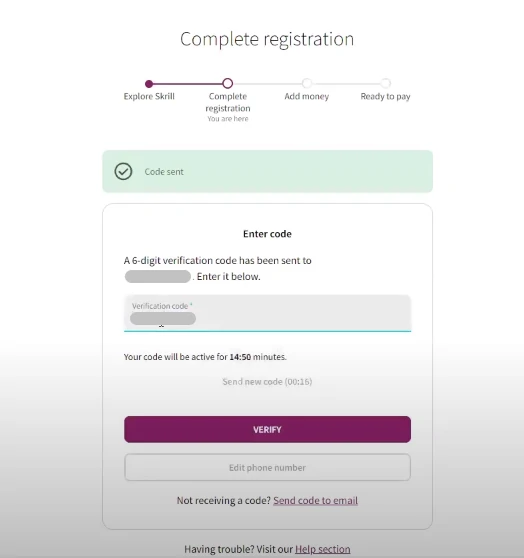
Step 11 : Then Skrill will send a code to your mobile number. Enter the code and click on the “Verify” button.
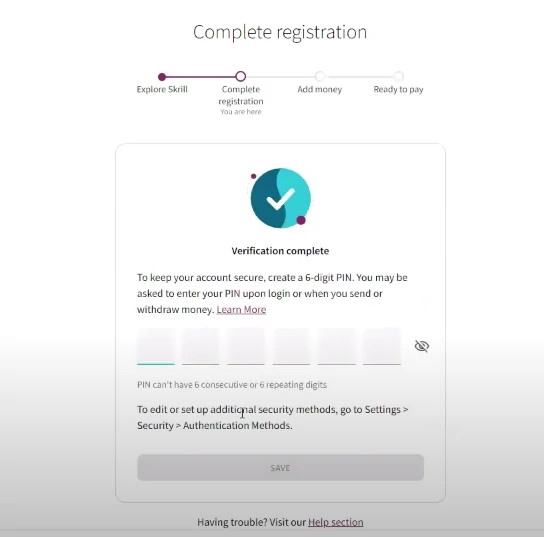
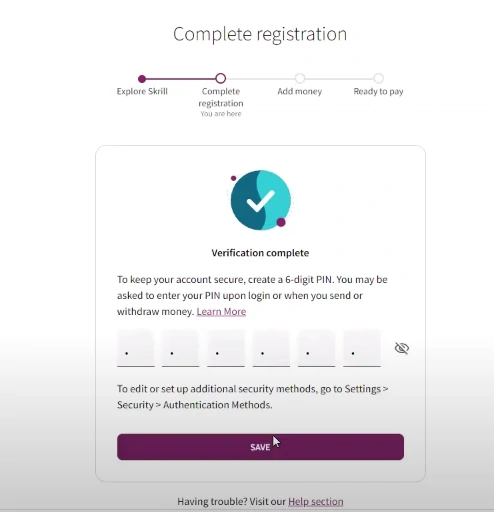
Step 12 : Now, you have to create a six-digit code that will be used to deposit and withdraw funds. This code is a security feature. Keep this code in a safe place, as you will need it every time you withdraw funds from Skrill. Enter a code and click on the “SAVE” button.
Step 13 : Please wait a few seconds.

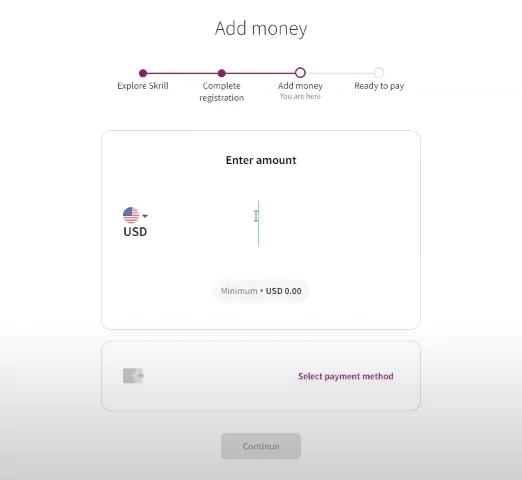
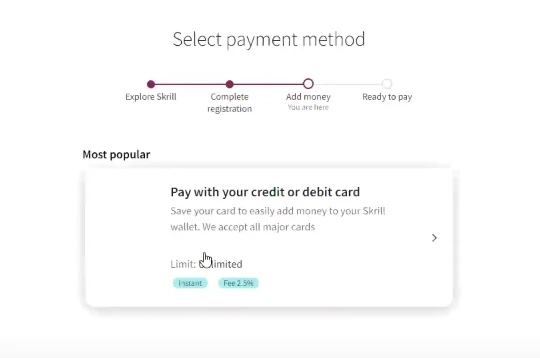
Step 14 : Now, you will proceed to the “Add Money” step. Enter the amount you want to add to Skrill. Then, click on the “Select payment method” link.
You must add some funds to start the verification process. Adding funds is also a part of the verification process.

Step 15 : Now , you can proceed with your selected method.
Note: Most of the steps for creating a Skrill account are similar to Neteller and some other account creation processes as well. Therefore, you can easily understand the process for all of them through this guide.
Once you have successfully completed the steps for opening a Skrill account, you can start the verification process. Refer to the next topic to complete the verification process.
How to verify Skrill account – Full Steps Guide
Verification of the Skrill account is crucial because it involves your money, and ensuring high security for your funds is paramount. Mainly, there are three verifications for Skrill.
- ID Verification
- Address Verification
- Face Verification
These verifications can differ depending on updates and the type of eWallet. However, the process is generally similar. Learn more about Skrill and Neteller. Refer to the following steps to start the verification process.
ID Verification
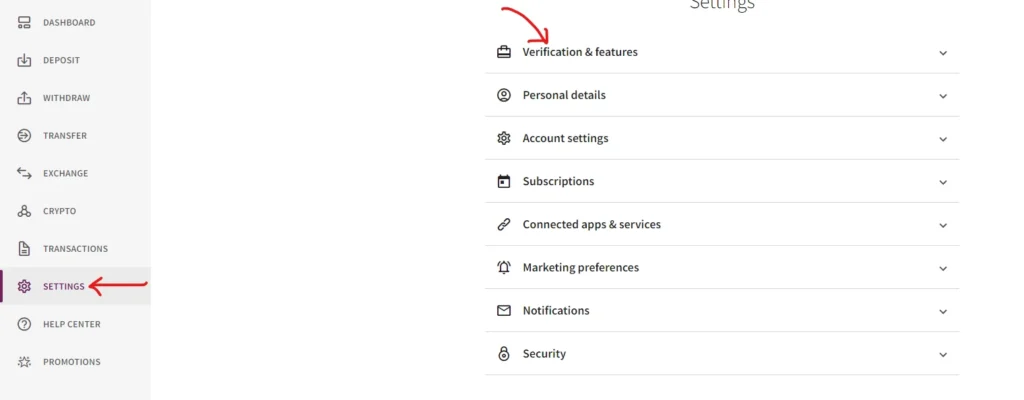
Step 1 : First , You need to verify your ID. Click on the”Setting” option and then click on the “Verification & features“option.
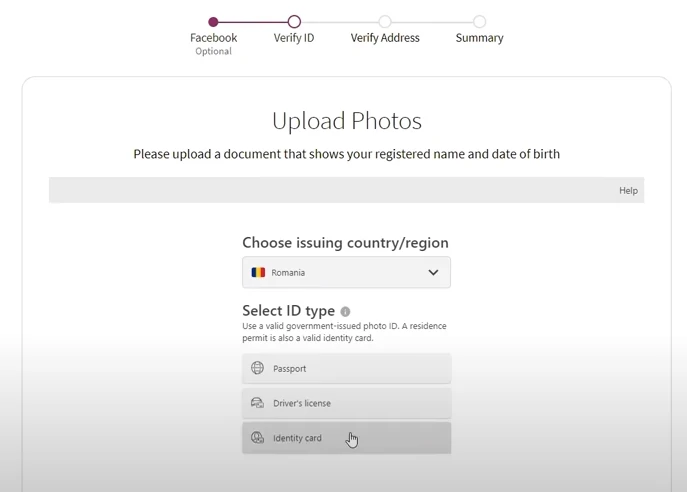
Step 2 : Select your country and the type of the document for verification . you have three types of IDs to select ID , passport and Driving License. then go to next step
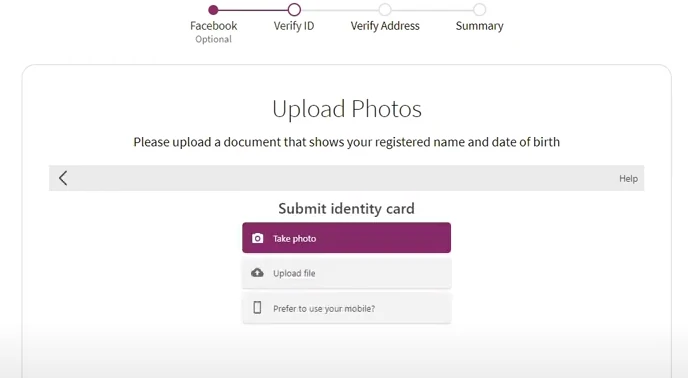
Step 3 :Select the verification method. There are three methods of verification shown in the following image.
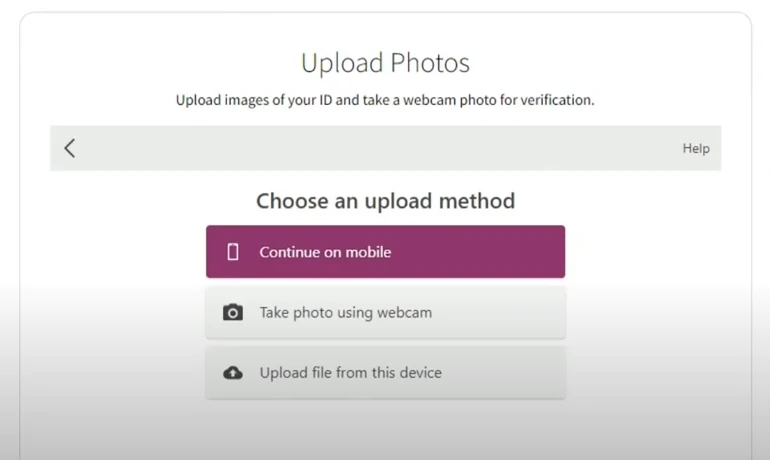
Step 4 : I have selected the third option: uploading documents through this device. If you select the first option (Continue on Mobile), you can refer to the Forex Trading Account Verification Guide because it has the most similar step-by-step guide for this verification. Please wait a few seconds.

Step 5 : First , you have to capture clear photos of the ID (both sides back and front) . If the photo is not clear it does not allow to upload. and also the image should be in valid formats such as png , jpg etc.
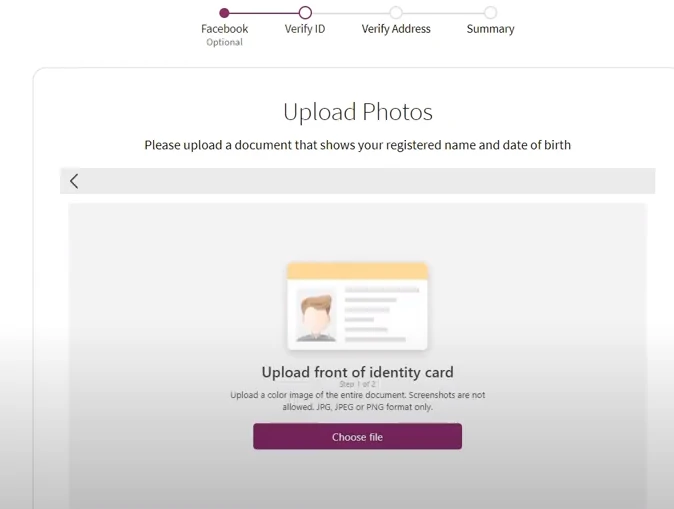
Step 6 : Now , you need to upload the front side of your ID . Click on “Choose file” and
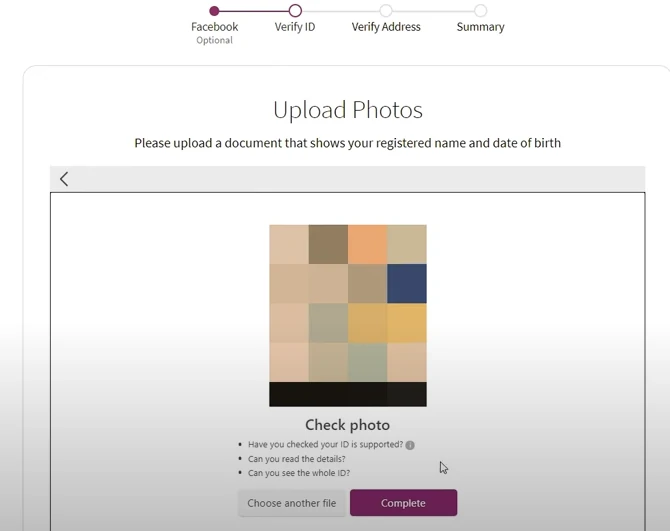
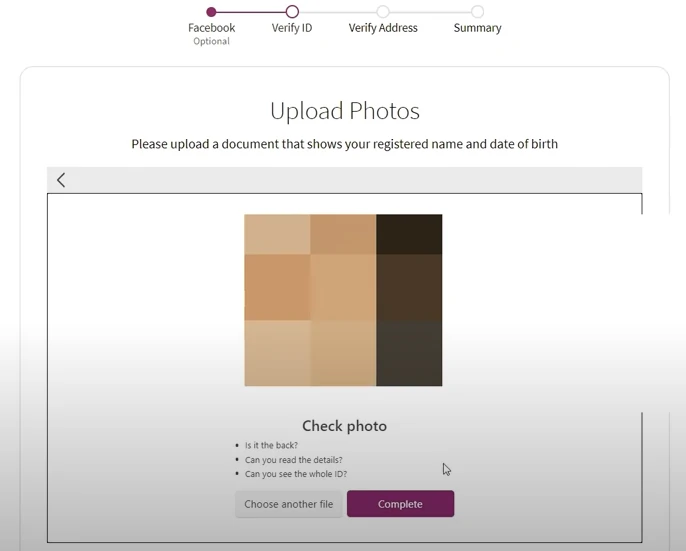
Step 7 : In this section, you can check if your photo is acceptable. If it’s not, you can select the “Choose another file” button to upload a different photo. Otherwise, click on the “Complete” button.
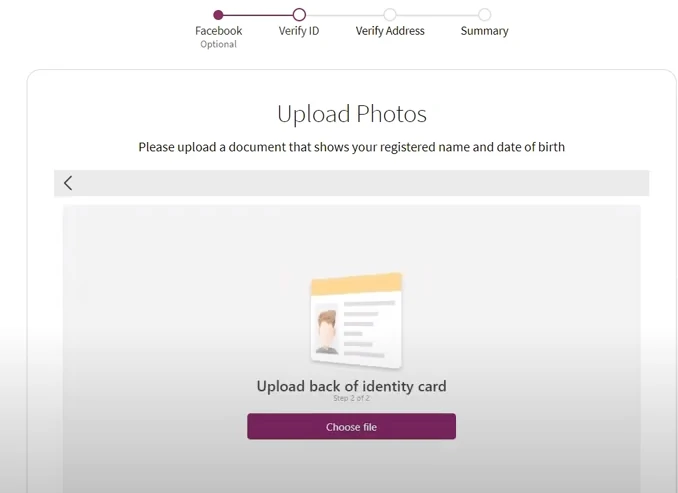
Step 8 : Now , Upload the backside of the ID.
Step 9 : In this section, you can verify if your photo is acceptable. If it’s not, you can select the “Choose another file” button to upload a different photo. Otherwise, click on the “Complete” button.
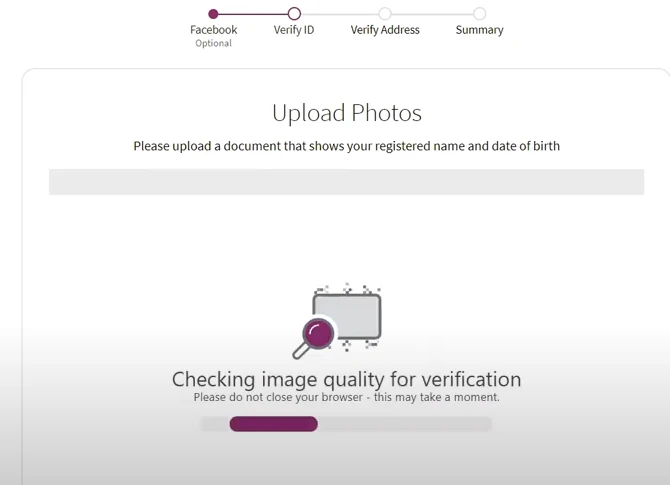
Step 10 : Now, Skrill will assess the quality of your uploaded photos. Please wait a few seconds until the process is complete.
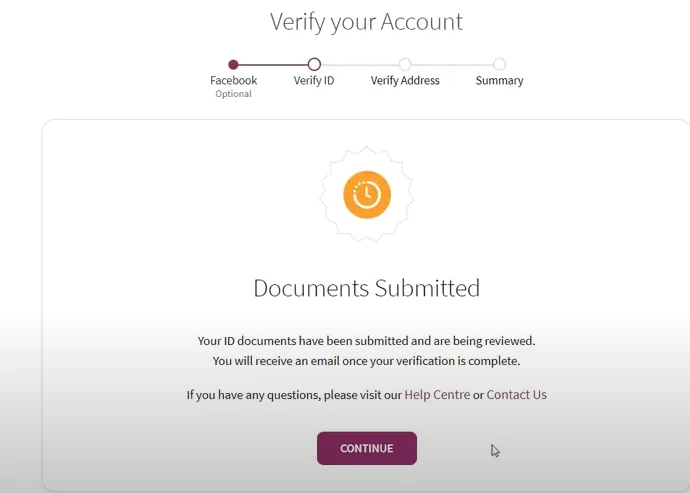
Step 11 : Skrill will provide you with a message confirming the successful submission of your documents.
Face Verification
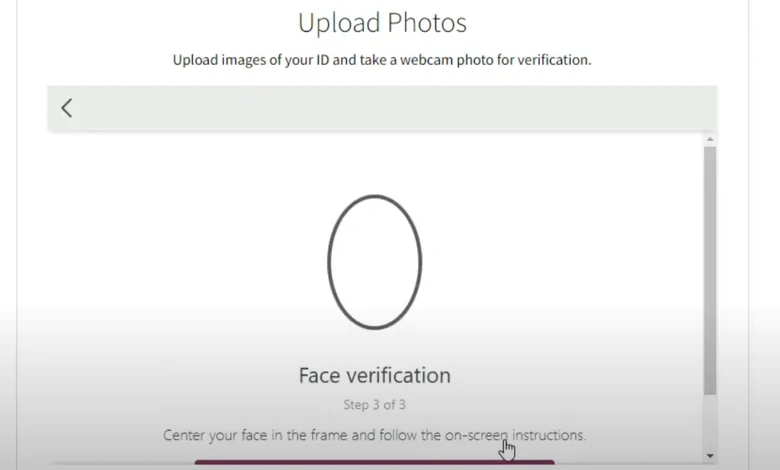
Step 12 : Now, you need to complete your “Face Verification.” Sometimes, this verification step may not be required.

Step 13 : Enable your web camera and ensure that your face is centered within the frame.
Step 14 : Now that the ID verification part is completed, you need to proceed with the Address verification process. Please refer to the next topic for instructions.
Address Verification
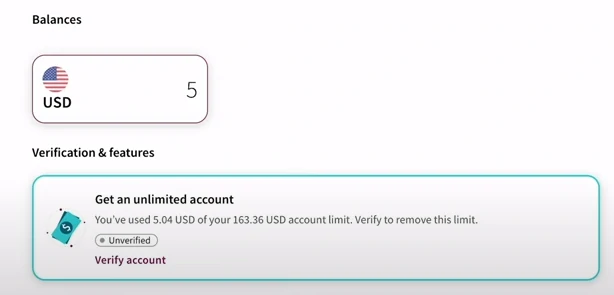
Step 1 : Your account still shows as unverified because you have not completed the verification process yet. Click on the “Verify account” link. If you cannot see this option here, navigate to the settings, then select the “Verification & Features” option.
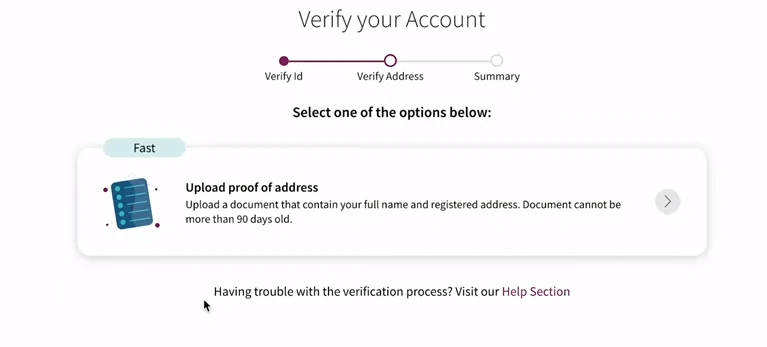
Step 2 : Then, upload the relevant document to verify your address. Before proceeding, carefully read the details provided and ensure that your document is valid. Requirements will be outlined in the upcoming steps. Please continue.
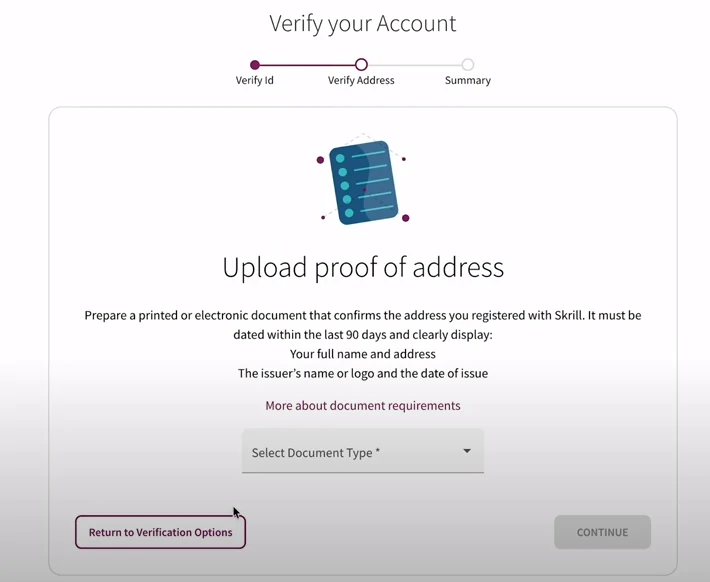
Step 3 : Select the type of document that you are going to upload and click on the “Continue” button.
Step 4 : Check the details carefully. It will show you what types of documents you can submit for the verification process.
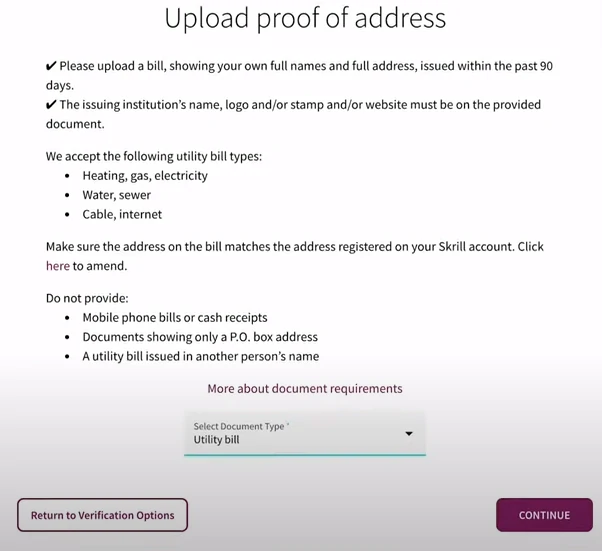
Step 5 :Check the details carefully. It will show you what types of documents you can submit for the verification process. Click on the “Choose file” button to upload.
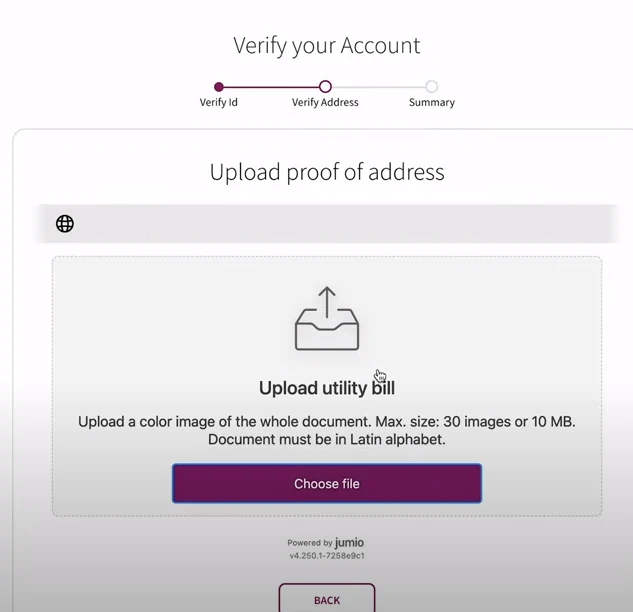
Step 6 : Check your document again. If the document is okay, click on the “Continue” button.

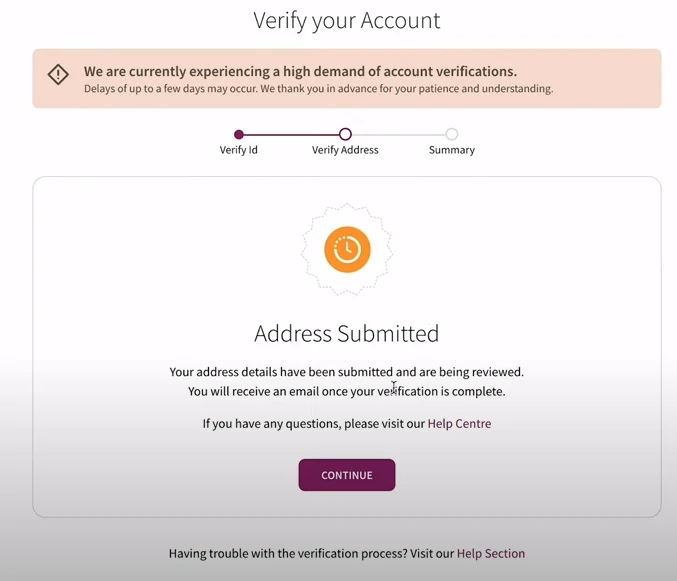
Step 7 : You will receive a message confirming the successful submission of your documents.
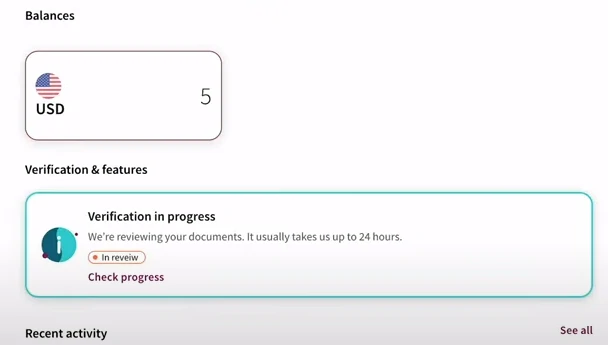
Step 8 : Now, you can see the label called “In review.” This means your documents are currently under review. You may have to wait a few days until Skrill completes the verification process.
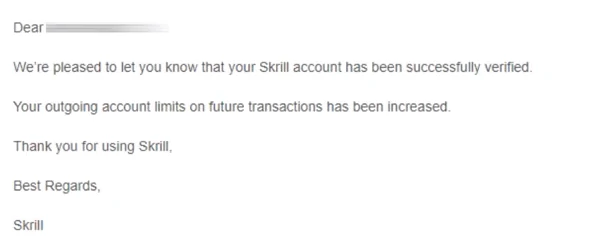
Step 9 : If the verification process is completed, you will receive a confirmation email similar to the one shown below.
Step 10 :If you are facing any difficulties with these verification processes, you can contact us via the Contact Us page. We will be here to assist you with any issues you encounter.